Minggu, 24 November 2013

SLR ( Single Lens Reflex / The Head of camera)


What is SLR ?
single-lens reflex (SLR) camera is a camera that typically uses a mirror and prism system (hence "reflex", from the mirror's reflection) that permits the photographer to view through the lens and see exactly what will be captured, contrary to viewfinder cameras where the image could be significantly different from what will be captured. 


HISTORY OF SLR 

Prior to the development of SLR, all cameras with viewfinders had two optical light paths: one path through the lens to the film, and another path positioned above (TLR or twin-lens reflex) or to the side (rangefinder). Because the viewfinder and the film lens cannot share the same optical path, the viewing lens is aimed to intersect with the film lens at a fixed point somewhere in front of the camera. This is not problematic for pictures taken at a middle or longer distance, but parallax causes framing errors in close-up shots. Moreover, focusing the lens of a fast reflex camera when it is opened to wider apertures (such as in low light or while using low-speed film) is not easy.
Most SLR cameras permit upright and laterally correct viewing through use of a roof pentaprism situated in the optical path between the reflex mirror and viewfinder. Light, which comes both horizontally and vertically inverted after passing through the lens, is reflected upwards by the reflex mirror, into the pentaprism where it is reflected several times to correct the inversions caused by the lens, and align the image with the viewfinder. When the shutter is released, the mirror moves out of the light path, and the light shines directly onto the film (or in the case of a DSLR, the CCD or CMOS imaging sensor). The Canon Pellix film camera was an exception to the moving mirror system, wherein the mirror was a fixed beamsplitting pellicle.
Focus can be adjusted manually by the photographer or automatically by an autofocus system. The viewfinder can include a matte focusing screen located just above the mirror system to diffuse the light. This permits accurate viewing, composing and focusing, especially useful with interchangeable lenses.
Up until the 1990s, SLR was the most advanced photographic preview system available, but the recent development and refinement of digital imaging technology with an on-camera live LCD preview screen has overshadowed SLR's popularity. Nearly all inexpensive compact digital cameras now include an LCD preview screen allowing the photographer to see what the CCD is capturing. However, SLR is still popular in high-end and professional cameras because they are system cameras with interchangeable parts, allowing customization. They also have far less shutter lag, allowing photographs to be timed more precisely. Also the pixel resolution, contrast ratiorefresh rate, and color gamut of an LCD preview screen cannot compete with the clarity and shadow detail of a direct-viewed optical SLR viewfinder.
COMPONENT 
A cross-section (or 'side-view') of the optical components of a typical SLR camera shows how the light passes through the lens assembly (1), is reflected by the mirror (2) placed at a 45-degree angle, and is projected on the matte focusing screen (5). Via a condensing lens (6) and internal reflections in the roof pentaprism (7) the image appears in the eyepiece (8). When an image is taken, the mirror moves upwards from its resting position in the direction of the arrow, the focal plane shutter (3) opens, and the image is projected onto the film or sensor (4) in exactly the same manner as on the focusing screen.
This feature distinguishes SLRs from other cameras as the photographer sees the image composed exactly as it will be captured on the film or sensor
SLR NOWADAYS 

Lenses (The eye of camera)


What is Lens?
camera lens (also known as photographic lens or photographic objective) is an optical lens or assembly of lenses used in conjunction with a camera body and mechanism to make images of objects either on photographic film or on other media capable of storing an image chemically or electronically.

There are few types of lenses that we use on DSLR :
DSLR Lenses
Standard Lenses – this is a term that seems to be disappearing a little from terminology. Traditionally on film cameras it was used to describe lenses in the 50mm range because this is what usually came with the camera.

Kit Lenses – These days the lens that is offered as a package with the DSLR isgenerally called the ‘kit lens’. It is generally an entry level quality zoom lens. They are usually a fairly general purpose lens designed for everyday shooting. My personal preference is always to buy the DSLR as a body only and to upgrade the lens from the kit lens as they are generally at a lower to medium end of the spectrum of lenses.
Prime Lenses – A prime lens is a lens that has one focal length only. They are becoming less popular in an age where photographers like to have the convenience of a range of focal lengths at their finger tips (see zoom lenses) but they are definitely worth considering. Zoom lenses are increasing in the quality that they offer but prime lenses are known (especially at the top end) for their image quality and speed (faster aperture).
While many like the convenience of zoom lenses I actually enjoy the challenge of prime lenses and find that they make me think about my photography a little more than when I have a zoom attached (I get a little lazy).
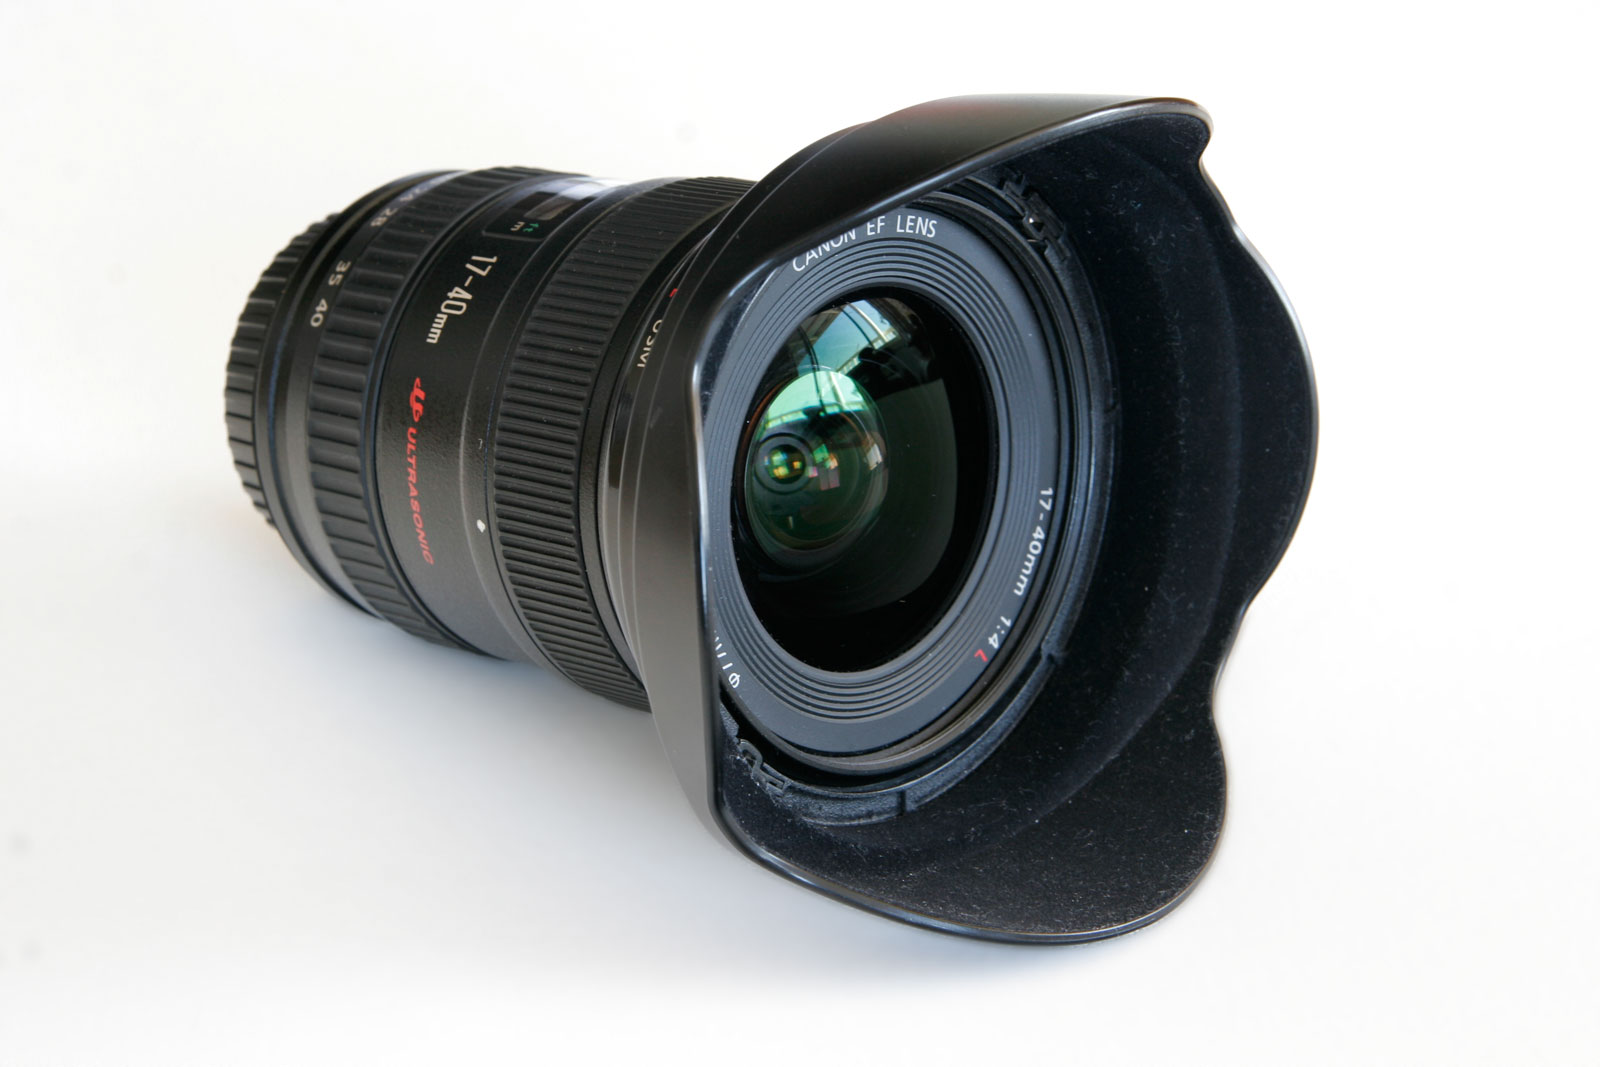
Telephoto Zoom Lenses – Zoom lenses are the most popular DSLR lenses at present and come in a range of configurations and levels of quality. Obviously the benefit of zooms are that you do not need to physically get closer to your subject to get a tighter framing of the image. These lenses can have quite narrow ranges or quite long ones.
Keep in mind that if you buy one with a long focal length (for examples you can get them in lengths ranging up to 300mm or longer) that the longer your focal length the more impact that camera shake has on your images. More and more lenses these days are being released with Image Stabilisation (IS) to combat camera shake.
Macro Lenses – these lenses are specifically designed for shooting objects up close. Many lenses and cameras come with a ‘macro’ setting but true macro lenses will produce images that are life size and that enable you to get in incredibly close from the subject you’re shooting.
Wide Angle Lenses – As their name suggests, these lenses enable their users to take shots with a very wide perspective. They are useful for landscapes and for getting in nice and close to subjects still fitting a lot of them in.
Wide angle lenses come both as prime lenses but also are being found at the lower end of telephoto zoom lenses increasingly. Be aware that very wide lenses will sometimes distort your image a little (or a lot), especially at the edges of your photos where they can be quite curved. This can be used to great effect but can also be quite frustrating at times.
At the extreme end of the ‘wide angle’ range are ‘fisheye lenses’ which purposely distort your image in a curved way to get more into the shot. Again this is a style of photography that many love but is an art to get right.


Shutter Speed (Sv / S)

 shutter speed is ‘the amount of time that the shutter is open’.
In film photography it was the length of time that the film was exposed to the scene you’re photographing and similarly in digital photography shutter speed is the length of time that your image sensor ‘sees’ the scene you’re attempting to capture.
Let me attempt to break down the topic of “Shutter Speed” into some bite sized pieces that should help digital camera owners trying to get their head around shutter speed:
Fast-Shutter-Speed
    • Shutter speed is measured in seconds – or in most cases fractions of seconds. The bigger the denominator the faster the speed (ie 1/1000 is much faster than 1/30).
    • In most cases you’ll probably be using shutter speeds of 1/60th of a second or faster. This is because anything slower than this is very difficult to use without getting camera shake. Camera shake is when your camera is moving while the shutter is open and results in blur in your photos.
    • If you’re using a slow shutter speed (anything slower than 1/60) you will need to either use a tripod or some some type of image stabilization(more and more cameras are coming with this built in).
    • Shutter speeds available to you on your camera will usually double (approximately) with each setting. As a result you’ll usually have the options for the following shutter speeds – 1/500, 1/250, 1/125, 1/60, 1/30, 1/15, 1/8 etc. This ‘doubling’ is handy to keep in mind as aperture settings also double the amount of light that is let in – as a result increasing shutter speed by one stop and decreasing aperture by one stop should give you similar exposure levels (but we’ll talk more about this in a future post).
    • Some cameras also give you the option for very slow shutter speeds that are not fractions of seconds but are measured in seconds (for example 1 second, 10 seconds, 30 seconds etc). These are used in very low light situations, when you’re going after special effects and/or when you’re trying to capture a lot of movement in a shot. Some cameras also give you the option to shoot in ‘B’ (or ‘Bulb’) mode. Bulb mode lets you keep the shutter open for as long as you hold it down.
    • When considering what shutter speed to use in an image you should always ask yourself whether anything in your scene is moving and how you’d like to capture that movement. If there is movement in your scene you have the choice of either freezing the movement (so it looks still) or letting the moving object intentionally blur (giving it a sense of movement).
    • To freeze movement in an image (like in the surfing shot above) you’ll want to choose a faster shutter speed and to let the movement blur you’ll want to choose a slower shutter speed. The actual speeds you should choose will vary depending upon the speed of the subject in your shot and how much you want it to be blurred.
    Slow-Shutter-Speed-1
    • Motion is not always bad. I spoke to one digital camera owner last week who told me that he always used fast shutter speeds and couldn’t understand why anyone would want motion in their images. There are times when motion is good. For example when you’re taking a photo of a waterfall and want to show how fast the water is flowing, or when you’re taking a shot of a racing car and want to give it a feeling of speed, or when you’re taking a shot of a star scape and want to show how the stars move over a longer period of time. In all of these instances choosing a longer shutter speed will be the way to go. However in all of these cases you need to use a tripod or you’ll run the risk of ruining the shots by adding camera movement (a different type of blur than motion blur).
    • Focal Length and Shutter Speed - another thing to consider when choosing shutter speed is the focal length of the lens you’re using. Longer focal lengths will accentuate the amount of camera shake you have and so you’ll need to choose a faster shutter speed (unless you have image stabilization in your lens or camera). The ‘rule’ of thumb to use with focal length in non image stabilized situations) is to choose a shutter speed with a denominator that is larger than the focal length of the lens. For example if you have a lens that is 50mm 1/60th is probably ok but if you have a 200mm lens you’ll probably want to shoot at around 1/250.

    Shutter Speed – Bringing it Together

    Remember that thinking about Shutter Speed in isolation from the other two elements of the Exposure Triangle (aperture and ISO) is not really a good idea. As you change shutter speed you’ll need to change one or both of the other elements to compensate for it.
    For example if you speed up your shutter speed one stop (for example from 1/125th to 1/250th) you’re effectively letting half as much light into your camera. To compensate for this you’ll probably need to increase your aperture one stop (for example from f16 to f11). The other alternative would be to choose a faster ISO rating (you might want to move from ISO 100 to ISO 400 for example).

    Aperture (Av / A )

    Aperture is ‘the size of the opening in the lens when apicture is taken.’
    When you hit the shutter release button of your camera a hole opens up that allows your cameras image sensor to catch a glimpse of the scene you’re wanting to capture. The aperture that you set impacts the size of that hole. The larger the hole the more light that gets in – the smaller the hole the less light.
    Aperture is measured in ‘f-stops’. You’ll often see them  as f/number – for example f/2.8, f/4, f/5.6,f/8,f/22 etc. Moving from one f-stop to the next doubles or halves the size of the amount of opening in your lens (and the amount of light getting through). Keep in mind that a change in shutter speed from one stop to the next doubles or halves the amount of light that gets in also – this means if you increase one and decrease the other you let the same amount of light in – very handy to keep in mind).
    One thing that causes a lot of new photographers confusion is that large apertures (where lots of light gets through) are given f/stop smaller numbers and smaller apertures (where less light gets through) have larger f-stop numbers. So f/2.8 is in fact a much larger aperture than f/22. It seems the wrong way around when you first hear it but you’ll get the hang of it.
    F-22  F-2.8
    The smaller number you use the more birghtness you'll get in your picture and also your background picture will be blur . This tehcnique usually used when you do macro photography  (Macro photography is taking picture that focus on one object and make the background blur) 

    ISO (International Organization of Standardization)

    In very basic terms, ISO is the level of sensitivity of your camera to available light. The lower the ISO number, the less sensitive it is to the light, while a higher ISO number increases the sensitivity of your camera. The component within your camera that can change sensitivity is called “image sensor” or simply “sensor”. It is the most important (and most expensive) part of a camera and it is responsible for gathering light and transforming it into an image. With increased sensitivity, your camera sensor can capture images in low-light environments without having to use a flash. But higher sensitivity comes at an expense – it adds grain or “noise” to the pictures.
    ISO 200 and ISO 3200 Comparison


    As you can see on both pictures , they are different. The left one is more clearly and the other one have some noise in the picture because the more youy increase the number of iso the more brighter your pictures but have some noise that may affect of the result.


    Typically, ISO numbers start from 100-200 (Base ISO) and increment in value in geometric progression (power of two). So, the ISO sequence is: 100, 200, 400, 800, 1600, 3200, 6400 and etc. The important thing to understand, is that each step between the numbers effectively doubles the sensitivity of the sensor. So, ISO 200 is twice more sensitive than ISO 100, while ISO 400 is twice more sensitive than ISO 200. This makes ISO 400 four times more sensitive to light than ISO 100, and ISO 1600 sixteen times more sensitive to light than ISO 100, so on and so forth. What does it mean when a sensor is sixteen times more sensitive to light? It means that it needs sixteen times less time to capture an image!
    ISO speed Example:
    ISO 100 – 1 second
    ISO 200 – 1/2 of a second
    ISO 400 – 1/4 of a second
    ISO 800 – 1/8 of a second
    ISO 1600 – 1/16 of a second
    ISO 3200 – 1/32 of a second

    You need to increase ISO if the surrounding light is not bright enough for camera to capture a picture clearly. But if there is plenty of light around you , you should keep your ISO low to make your pictures clearly. 


    Selasa, 26 Februari 2013

    SONY Alpha 33 with DT 18-55mm , Tamron 18-200mm , and Tamron 70-300mm

    This is all my Lenses


         I love all my lenses they are great for taking picture , and it's very cool ! woaah Like it . First  the DT Sony 18-55mm i have it from bought my camera , it's include the standart lens (18-55) I just use it for a few weeks , after that i bought Tamron 18-200mm ! It's great it can be macro , or just shooting the panorama or it can be a telephoto lens ! It's cool to have a lens that can do anything , but I'm not satisfied by that lens , so i bought my Tamron 70-300mm It's for Telephoto only but it can change to a macro lens by changing the button on the lens. It's cool and it's cheap ! Like it so much make me feel like pro and it can make a picture that look like taken with Canon 5D ! Cool right?

    DT SONY 18-55mm : Include when bought the camera
    Tamron 18-200mm Macro
    Tamron 70-300mm Telephoto / Macro 

    From Left : SONY Alpha 33 - DT SONY 18-55mm - Tamron 18-200mm - Tamron 70-300mm

    Sabtu, 23 Februari 2013

    TAMRON 70-300mm FOR SONY

    About Tamron 70-300mm For Sony


    I think i need a lens that can zoom very long and we don't need to come near to the object. The lens that i need is Telephoto lens. I know it's very very expensive. But when i checked at internet tamron have a lens that longer than the other but cheaper than the other. Waw ! Fantastic ! I'll buy it! But my father diagree if i buy a lens again , because i just bought a lens 2 months ago.I checked canon , nikon , or sony with 70-200mm it's about Rp.8.000.000! Woaahhhh it's to expensive for a beginner ! I'm very confused why it can be? Tamron 70-300mm just Rp.1.800.000 and Canon/Sony/Nikon, etc 70-200mm it's about Rp.8000.000!It's a big different! So i decided to bought Tamron 70-300mm. And It's pretty cool. I like it and it useful for who like paparazzi !!! wahahhaha. Don't need to come near to the object! And we can do macro photo shoting with this lens !We can cange the lens mode , normal or macro .

    Tamron 70-300mm : Rp.1.800.000
    -The Lens
    -Manual book
    -Lens Hood

    Zoom

    With My sony Alpha 33